Well it’s been about 18 months I have been using my Stinger on a temporary table with extensions cords. Well I finally finished the table today.
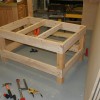
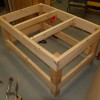
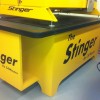
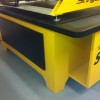
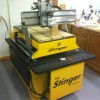
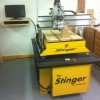
The base is made from 4″ x 4″ with 2″ x 8″ stretchers upper and lower, then I used 3/4″ MDF to cover the whole base. I built a ledge on the front to store the control box, with easy access to both sides for the main switch and the touch plate. There are two black doors on the Left hand side to give access to the computer along with lots of storage.
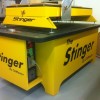
I pocketed the table top for my router bits and I also pocketed the feet of the Stinger so it would not slide on the top. I wanted to make a sturdy table because the weight of the machine and also I didn’t want the table to rack during operation of the machine. The hardest part was painting the letters, I first painted the letters black then using a random orbital sander I cleaned up the overspray on the MDF. I then used a sponge roller and painted the yellow.
The finished size is 39 1/2″ wide, 64″ long and 26 3/4″ to the top of the table. All the work was done in Aspire on my Cobra X3, the CAMaster text is pocketed 1/8″ deep. I ran 2 dedicated 110V through conduit, to lazy to remove the Sheetrock)
I installed a laser to the lower router plate but never posted any pictures, the laser is operated through WinCNC, I position the laser on the corner of my work piece then click on Laser X0Y0 this creates the home position were the laser was.

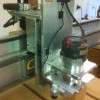
Very impressive! The table and Stinger really look made for each other, and it looks even better in person than in the photos, I can attest to that 😉
I also like how you mounted the monitor / keyboard / mouse to the wall. Nice setup!